Deploy a Dockerized CakePHP 2.x App with Docker Cloud
**IMPORTANT!**Cluster Management in Docker Cloud has been discontinued on May 25. Therefore, instructions below won’t work anymore. I’ll be creating a new article on how to deploy your app in Digital Ocean using Docker Swarm. So stay tuned!
In this blog post, I’m going to explain on how I deploy my Dockerized CakePHP 2.x application to my Digital Ocean droplet with Docker Cloud.
We’re going to deploy this application that I built from my blog post: Setup CakePHP 2.x Application with Docker from Scratch
The final source code will be available in Github on branch: docker-cloud. https://github.com/onoya/dockerized-cakephp-app/tree/docker-cloud
Before we start, make sure you have these prerequisites ready.
Prerequisites
- Docker Engine
- Docker Cloud CLI. There are several ways to install it.https://docs.docker.com/docker-cloud/getting-started/deploy-app/2_set_up/
- A Docker account. https://cloud.docker.com/
- An account in Digital Ocean. If you do not have an account yet, you may register from here: https://m.do.co/c/df63f05532f9You’ll get 10$ of credit for free.
Getting Started
To start, let’s create a directory for this project and clone the dockerized CakePHP 2.x application.
mkdir deploy-dockerized-cakephp2-app

git clone git@github.com:onoya/dockerized-cakephp-app.git .
Link your Docker Cloud and Digital Ocean accounts
You have to login to Docker Cloud account and grant access to your infrastructure. In our case, we’re going to grant access to our cloud service provider, Digital Ocean.
There is a detailed tutorial on how to link your accounts here: https://docs.docker.com/docker-cloud/infrastructure/link-do/
Create and deploy your First Node
After linking your accounts, we are going to launch our first node. When launching a node, you’ll actually be creating a node cluster. It’s best explained in the Docker’s official docs(https://docs.docker.com/docker-cloud/).
We may create a node cluster through the Docker Cloud site, or with docker-cloud CLI. We’re going to be using the docker cloud CLI.
Open your terminal and log in to Docker. Fill the username and password with your Docker account credentials.
docker login
To be able to create a node cluster, we need the following details:
- provider
- region (data center)
- nodetype
To check for the list of providers, run the following command:
docker-cloud nodecluster provider

NAME LABEL
aws           Amazon Web Services
digitalocean  Digital Ocean
azure         Microsoft Azure
softlayer     SoftLayer
packet        Packet
We will be using digitalocean as our provider.
Next, we’re going to check for the list of data centers regions available in Digital Ocean:
docker-cloud nodecluster region -p digitalocean

NAME  LABEL            PROVIDER
ams2  Amsterdam 2      digitalocean
ams3  Amsterdam 3      digitalocean
blr1  Bangalore 1      digitalocean
fra1  Frankfurt 1      digitalocean
lon1  London 1         digitalocean
nyc1  New York 1       digitalocean
nyc2  New York 2       digitalocean
nyc3  New York 3       digitalocean
sfo1  San Francisco 1  digitalocean
sfo2  San Francisco 2  digitalocean
sgp1  Singapore 1      digitalocean
tor1  Toronto 1        digitalocean
You may choose the region nearest to you. I’m going to select sgp1 (Singapore 1).
We now have the provider and region. Let’s check for available nodetypes.
docker-cloud nodecluster nodetype -p digitalocean -r sgp1

NAME   LABEL  PROVIDER      REGIONS
512mb  512MB  digitalocean  nyc1, ams1, sfo1, nyc2, ams2, sgp1, lon1, nyc3, ams3, fra1, tor1, blr1, sfo2
1gb    1GB    digitalocean  nyc1, ams1, sfo1, nyc2, ams2, sgp1, lon1, nyc3, ams3, fra1, tor1, blr1, sfo2
2gb    2GB    digitalocean  nyc1, ams1, sfo1, nyc2, ams2, sgp1, lon1, nyc3, ams3, fra1, tor1, blr1, sfo2
4gb    4GB    digitalocean  nyc1, ams1, sfo1, nyc2, ams2, sgp1, lon1, nyc3, ams3, fra1, tor1, blr1, sfo2
8gb    8GB    digitalocean  nyc1, ams1, sfo1, nyc2, ams2, sgp1, lon1, nyc3, ams3, fra1, tor1, blr1, sfo2
16gb   16GB   digitalocean  nyc1, ams1, sfo1, nyc2, ams2, sgp1, lon1, nyc3, ams3, fra1, tor1, blr1, sfo2
32gb   32GB   digitalocean  nyc1, sfo1, nyc2, ams2, sgp1, lon1, nyc3, ams3, fra1, tor1, blr1, sfo2
48gb   48GB   digitalocean  nyc1, sfo1, nyc2, ams2, sgp1, lon1, nyc3, ams3, fra1, tor1, blr1, sfo2
I’m going to use nodetype 512mb, since it only costs $0.007/hour at the time of writing.
Now we have all the information that we need. Let’s proceed to creating and deploying our node cluster by providing the following data: name, provider, region, nodetype. You may name it however you want, but let’s name it cakephp-node-cluster.
docker-cloud nodecluster create cakephp-node-cluster digitalocean sgp1 512mb
After running the command above, it will output a uuid of your newly created node cluster.
You can verify that the node has been created successfully by running this command.
docker-cloud node ls

UUID FQDN LASTSEEN STATUS CLUSTER DOCKER_VER
0a4df716 0a4df716-49b3-4b6d-8d20-f4671d21cd88.node.dockerapp.io 28 minutes ago ▶ Deployed cakephp-node-cluster 1.11.2-cs5
You can inspect the node with the UUID like this:
docker-cloud node inspect 0a4df716
We now have a node deployed. Let’s proceed on creating the stack file for our services and deploy them to the node.
Docker Cloud Stack File
The Docker Cloud stack file is a YAML file which is very identical to a Docker Compose file. It helps you group your services and deploy them together. The application that we’re going to deploy has 2 services. The CakePHP application, and MySQL database.
But before we create the stack file, if you have read my blog post about the application that we’re going to deploy (Setup CakePHP 2.x Application with Docker from Scratch), we haven’t yet pushed the image to Docker Hub. We need to push the image because docker cloud stack file doesn’t support build. It needs to pull the image from Docker Hub.
Let’s rebuild it first just to make sure and add a tag to it: onoya/dockerized-cakephp-app. Make sure to change onoya to your docker username. And you can name it however you want, but let’s name it dockerized-cakephp-app this time.
docker build -t onoya/dockerized-cakephp-app .
When the build is completed, let’s push it.
docker push onoya/dockerized-cakephp-app
It may take several minutes to finish.
Now let’s create the docker-cloud.yml file inside the root of our application directory with the content below.
app:
  image: onoya/dockerized-cakephp-app
  autorestart: always
  ports: - 8000:80
  links: - db
db:
  image: mysql
  autorestart: always
  environment:
    MYSQL_DATABASE: cakephp_db
    MYSQL_ROOT_PASSWORD: root_password
Looks very identical to docker-compose.yml file, isn’t it?
Deploy the Stack
We can now deploy our stack by running the command below.
docker-cloud stack up
It may take several minutes to finish deploying.
When deployment is done, let’s get the endpoint URI of our application. Start by listing the containers.
$ docker-cloud container ps

NAME    UUID      STATUS     IMAGE                                RUN COMMAND         EXIT CODE    DEPLOYED       PORTS                 NODE      STACK
db-1    798ca145  ▶ Running  mysql:latest                         mysqld                           8 minutes ago  3306/tcp              0a4df716  deploy-dockerized-cakephp2-app
app-1   64b3ba7e  ▶ Running  onoya/dockerized-cakephp-app:latest  apache2-foreground               7 minutes ago  app-1.deploy-dock...  0a4df716  deploy-dockerized-cakephp2-app
We’re going to inspect app-1.
docker-cloud inspect app-1
It will output a json object. Take a look at the container_port section.
...
  "container_ports": [
    {
      "protocol": "tcp",
      "outer_port": 8000,
      "inner_port": 80,
      "port_name": "http",
      "uri_protocol": "http",
      "published": true,
      "endpoint_uri": "http://app-1.deploy-dockerized-cakephp2-app.64b3ba7e.cont.dockerapp.io:8000/"
    }
  ],
...
Try to open a browser and access the link in endpoint_uri. You should see your application running in that URI.
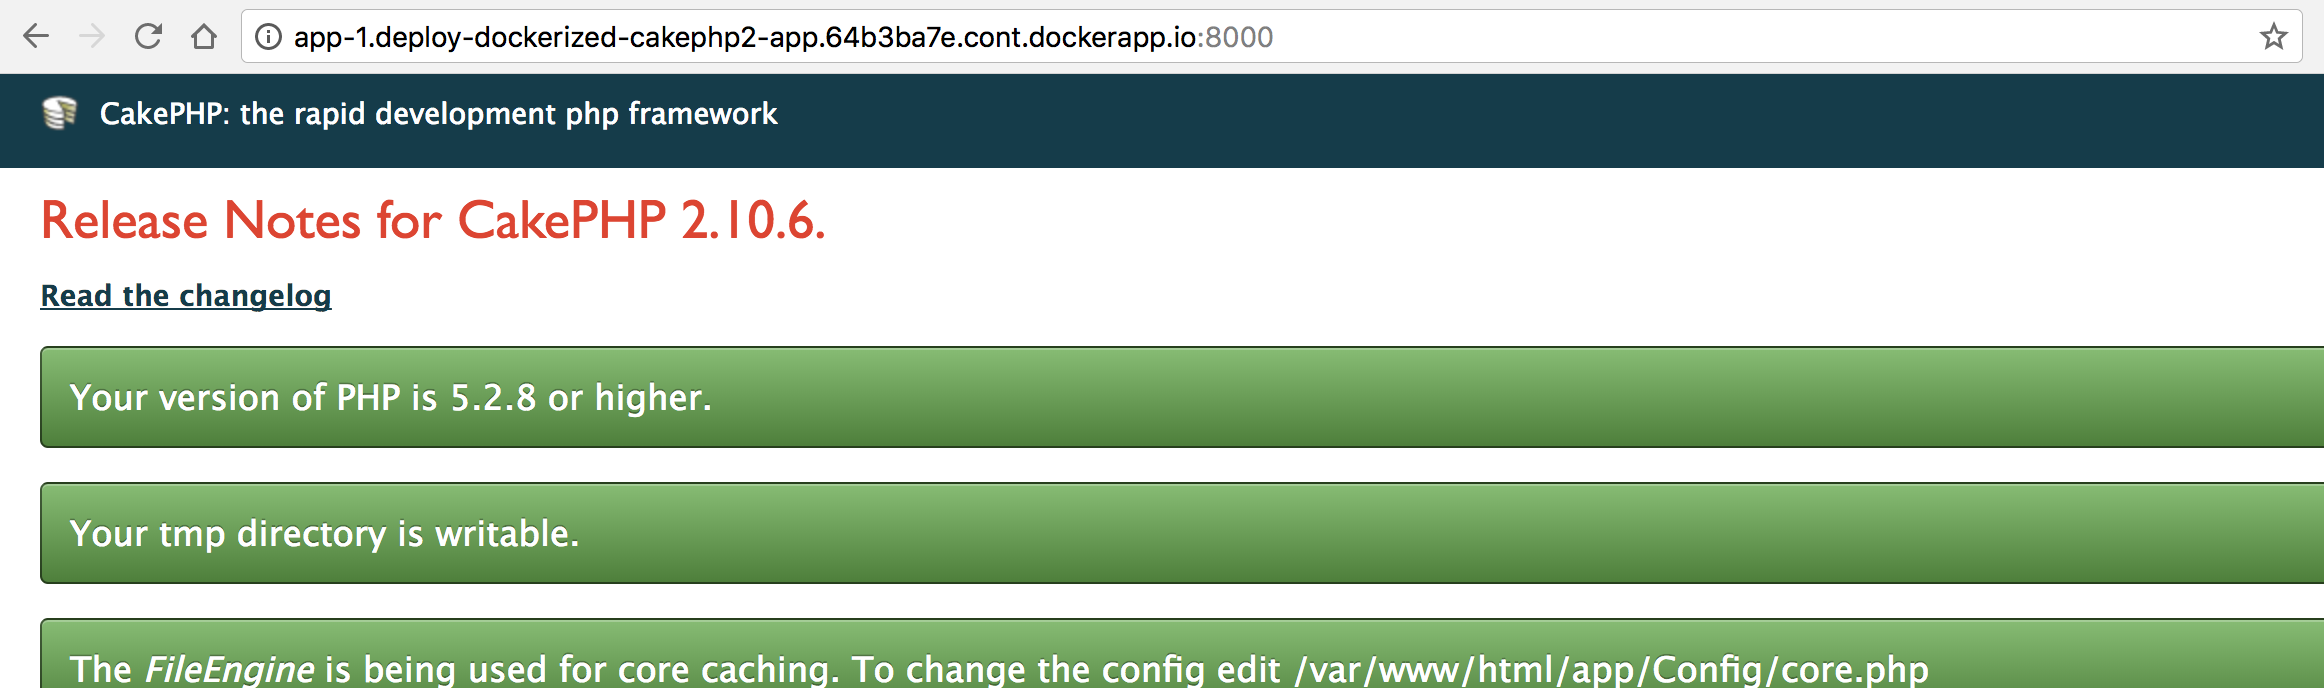
And there you have your dockerized CakePHP application running on a cloud server. Note that we exposed port 8000 in the stack file and that’s why we need to append the port. You may change it to port 80 to access it without appending the port. Although I would suggest on adding a Load Balancing service.
Now, let’s say you have made some changes to your stack, you could easily redeploy with this command
docker-cloud stack redeploy
You could also stop them by running
docker-cloud stack stop
or even totally destroy or terminate your stack services
docker-cloud stack terminate
And if you want to terminate your node cluster, you could run the command below.
docker-cloud nodecluster rm cakephp-node-cluster
And that’s about it.
Please note that I’m also still in the process of learning, so I can’t guarantee you that everything that I’ve wrote here is the right way.
Please share if you’ve liked it and feel free to leave a comment below if you have any question or if you’ve found something that needs to be corrected.
Happy learning to all!